
Sometimes the best way to try something new is to start with a project that feels manageable—and preferably one covered in pumpkins, bats, and black cats.
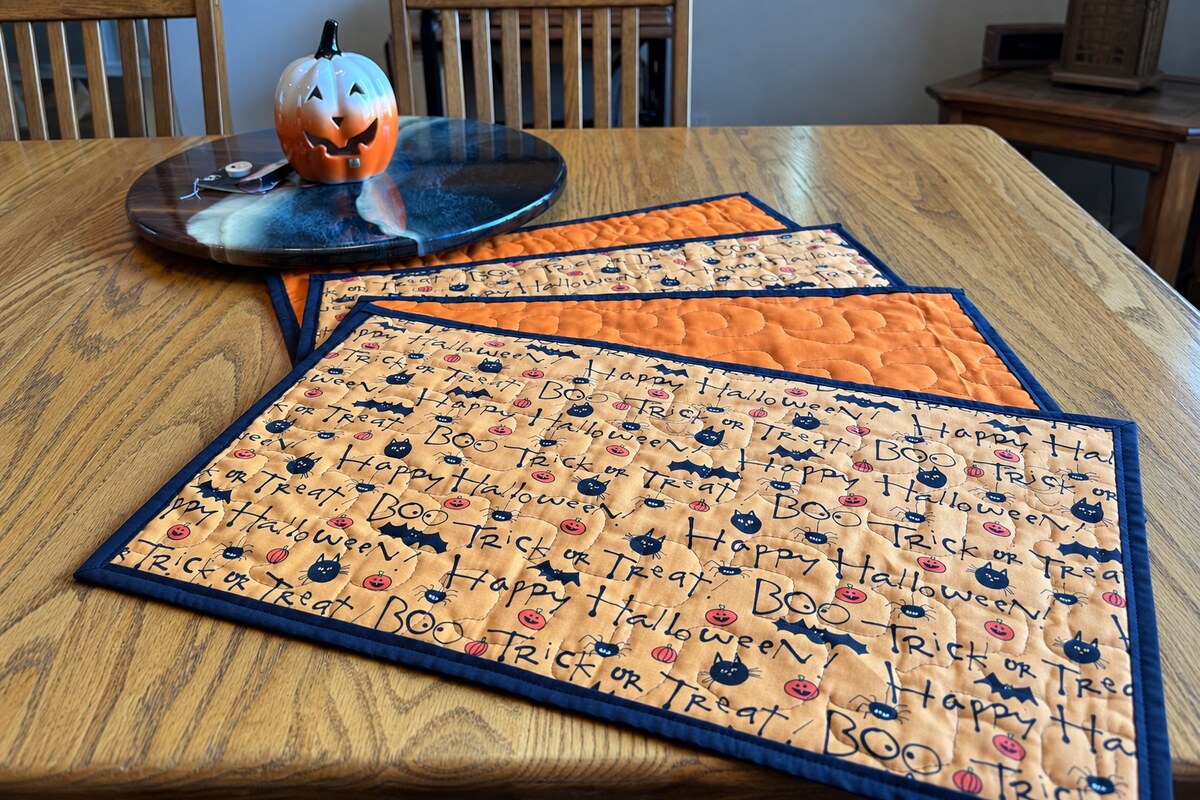
I recently made a set of four Halloween placemats using fabric that I quilted on my longarm machine. This was a fun seasonal project and also my first time making my own binding.
Did everything turn out exactly the way I pictured it? Not quite. But that is part of the fun of making something yourself.
Longarm Quilting Is Not Just for Bed Quilts
Longarm quilting can be used for much more than finishing bed-size quilts. It is also a great way to prepare quilted fabric for placemats, table runners, tote bags, wall hangings, and other small projects.
For these placemats, I loaded one large piece of Halloween fabric, batting, and solid orange backing fabric onto the longarm. I chose an edge-to-edge pantograph and quilted the entire piece at once, making enough quilted fabric for four placemats.
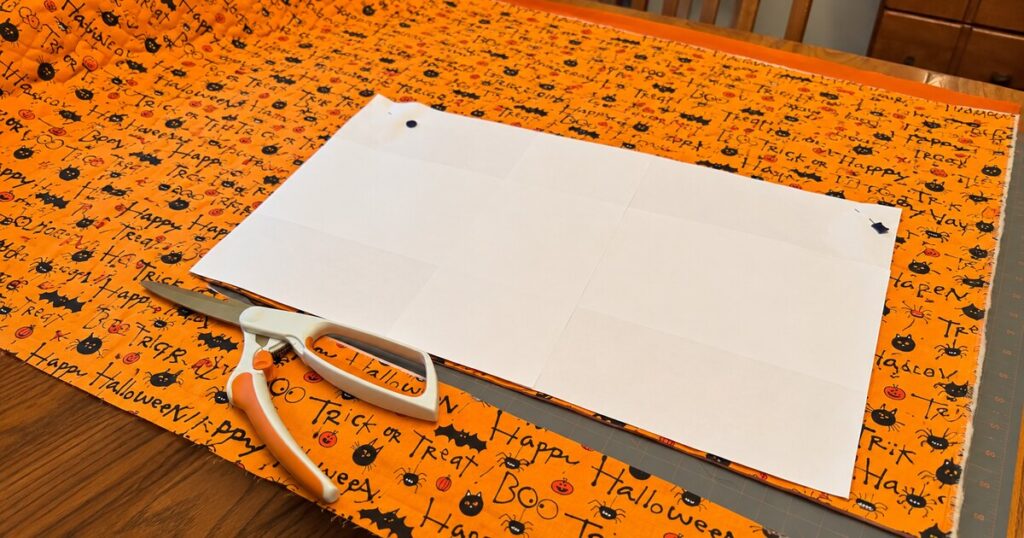
After the quilting was finished, I used a paper template to cut each placemat to size. Quilting one larger piece was much easier and more efficient than trying to quilt four small placemats separately.
Projects like this are also a fun way to experiment with quilting patterns and thread colors. You can see how the stitching looks on both sides of the fabric—and sometimes the results help you decide what you would do differently next time.
My Fabric and Thread Choices
I used a fun Halloween print for the top and solid orange fabric for the back. The orange backing made the quilting stitches easy to see, especially because I chose black thread.
The black thread looked great with the Halloween print and helped tie together all the black details in the fabric. On the solid orange back, however, the stitching was very noticeable.
Was it a little bold? Yes.
Would orange thread have blended into the backing more quietly? Probably.
Do I still like the placemats? Absolutely.
That is one of the enjoyable parts of making a small project. It gives you permission to experiment. A contrasting thread color makes the quilting pattern stand out, while a coordinating color allows the stitching to blend more gently into the fabric.
Neither choice is wrong. It simply depends on the look you want. Sometimes you do not know which look you prefer until you see the finished project.
Making My Own Binding
I used black binding around the edges to frame the orange Halloween fabric. I wanted the finished binding to be a little wider, so I cut my fabric strips three inches wide.
This was also the first time I made my own double-fold binding.
I watched several YouTube videos that showed different ways to make and attach binding. After comparing the instructions, I chose the method that made the most sense to me and figured it out.
There may have been a few moments when the fabric and I were not on speaking terms, but we worked through our differences.
The black binding ended up being a good choice. It coordinates with the Halloween print, defines the edges, and gives the placemats a finished look.
Why This Is a Good Beginner Project
Placemats are a wonderful project for newer sewists and quilters because they are small, useful, and forgiving.
You do not need to make complicated quilt blocks. A favorite piece of printed fabric can do most of the decorating for you. Once the fabric is quilted, you simply cut the placemats to size and finish the edges.
A project like this gives you a chance to practice several skills:
- Choosing coordinating top and backing fabrics
- Selecting a thread color
- Seeing how an edge-to-edge quilting pattern looks on fabric
- Squaring and trimming quilted pieces
- Making and attaching your own binding
- Finishing a project without it taking six months and taking over the dining room
You can use this same basic idea for other holidays and seasons. Try Christmas fabric, fall leaves, spring flowers, patriotic prints, or a fabric that coordinates with your kitchen.
A Few Beginner Tips
If you would like to make something similar, begin with more quilted fabric than you think you will need. Quilting can draw the fabric in slightly, and having extra fabric gives you room to straighten and trim each placemat.
Before choosing your thread, look at both the top and backing fabrics. A thread that blends beautifully on the top may stand out on the back. That is not necessarily a problem—just make sure it creates a look you will enjoy.
If you are making your own binding for the first time, practice with a short piece before cutting all your strips. There are several videos on YouTube that show different ways to make and attach binding. Watch a few and choose the method that makes the most sense to you. There is usually more than one way to complete a sewing project.
Most importantly, do not let “I have never done that before” stop you.
Give Yourself Permission to Experiment
Every project teaches us something. This one showed me how black thread changes the look of quilting on a solid orange backing. It also gave me my first experience making wider binding from three-inch strips.
The finished placemats may not be perfect, but they are cheerful, useful, and ready for Halloween. More importantly, I tried something new and finished the project.
If you are a beginner, start small. Pick a fun fabric, try a new technique, and see what happens. The worst-case scenario is that you learn something. The best-case scenario is that you end up with something you are proud to place on your table.
Have you taken the plunge and tried a small sewing or quilting project? Let me know what you created—I would love to hear about it!